What are Corporate Labels and how do I set them up?
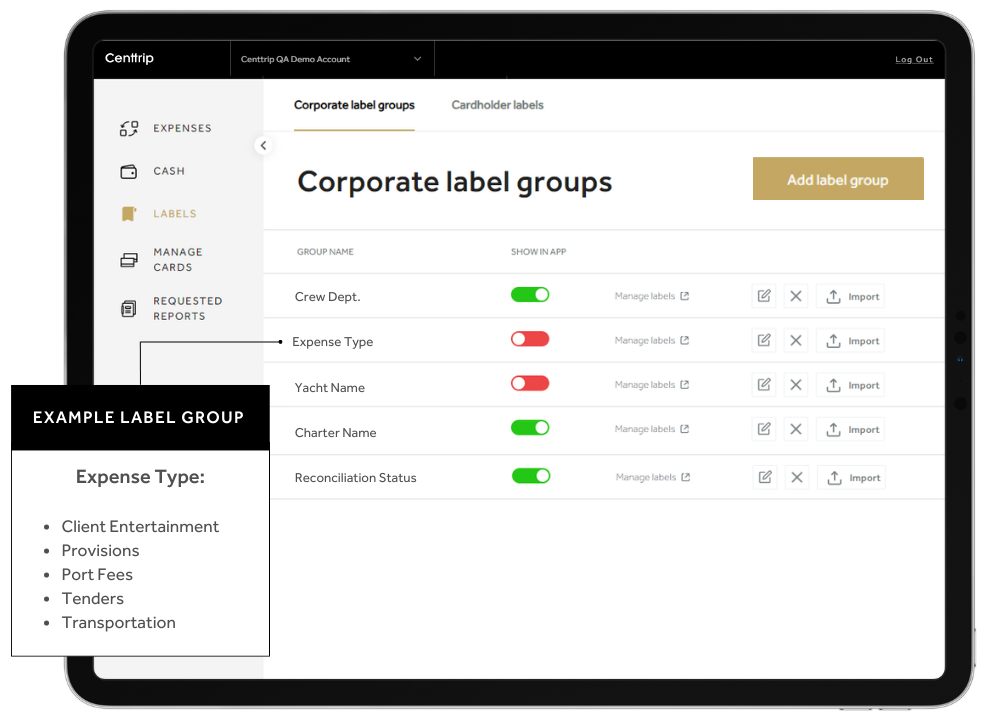
Corporate Labels are custom to your organisation and can be anything that will assist your accounting processes. Create as many label groups as required and link each individual label to alternative values, such as accounting or tax codes, for easy mapping.
Once set up, Corporate Labels can be attached to card and cash transactions instantly, either by cardholders within the Centtrip app, or by Administrators via the expenses dashboard.

You can even specify which label groups will be visible to cardholders, allowing you to create separate codes for administrative purposes verus expense submission.
How to create Corporate Labels
Watch 2-minute video -

Or, follow these steps -
Step 1)

Step 2)

Step 3)

Step 4)

Step 5)

Step 6

Step 7


How to create labels in batch
Save time by uploading a spreadsheet of labels (and alternative values) into your corporate label groups. You can even export any pre-existing cardholder labels to edit or update and re-upload in batch.
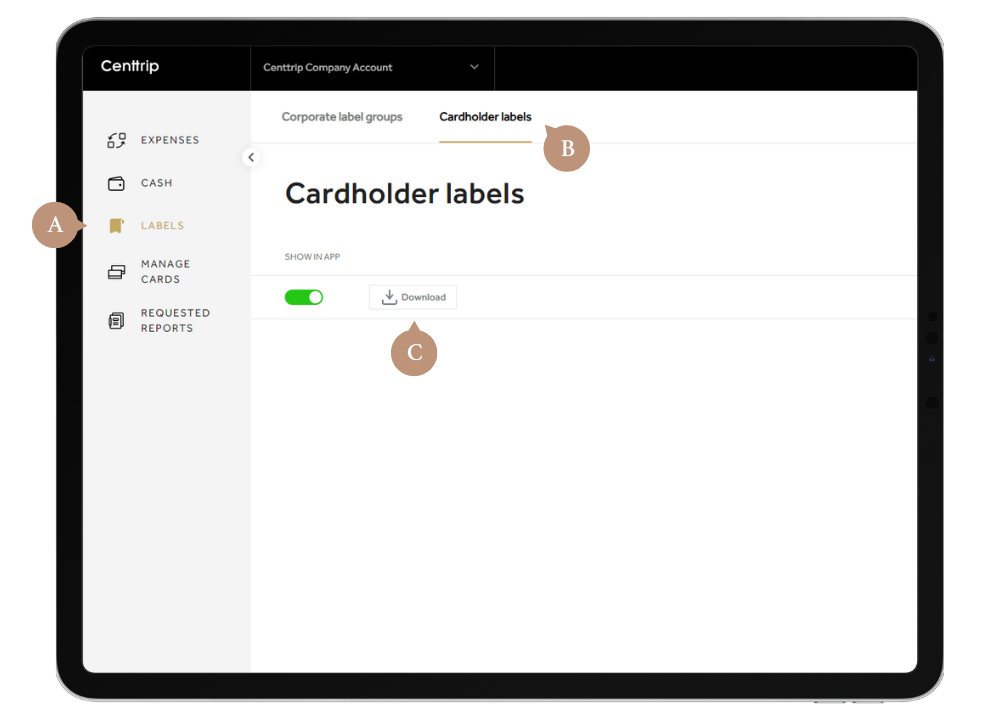
1. Export existing cardholder labels

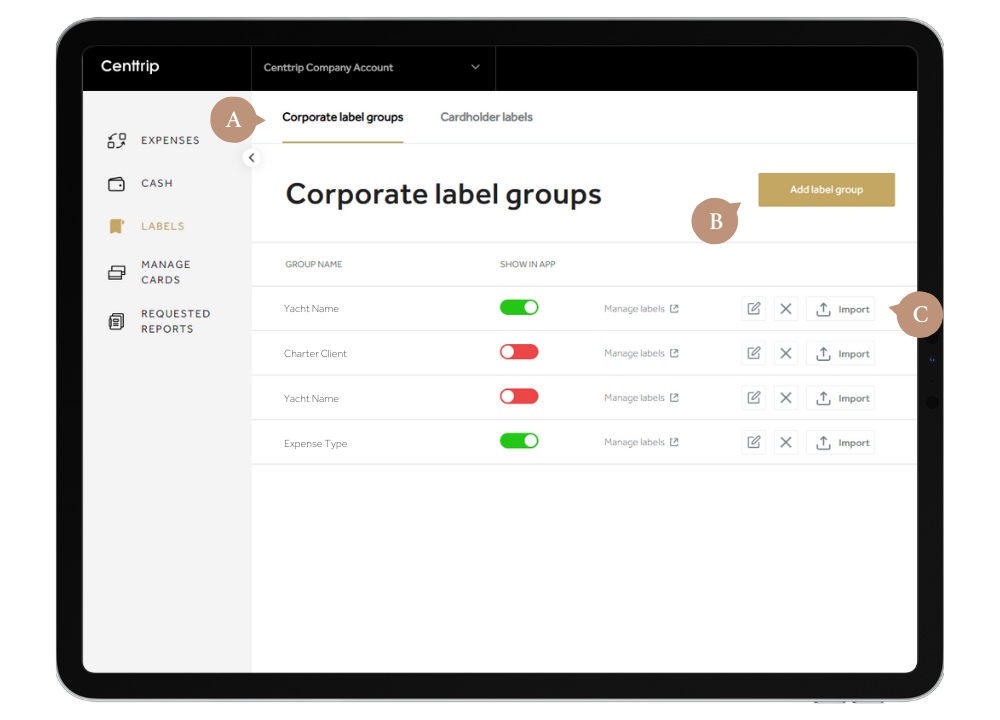
2. Import Corporate Labels in batch

Why use Corporate Labels?
- Attach instantly - add them to expenses via a dropdown in your desktop account or the app.
- Simplified reconciliation - labels can be linked to accounting codes; useful for mapping.
- Entirely bespoke - create any custom Label Groups and labels that will assist you.
- Improved reporting - add labels to transaction reports and include them in data exports.
- Greater accuracy - selecting from your pre-set list of labels means less room for error.